1. Getting started
1.1. Configuring SAML
- Login to the Thycotic Admin Portal
- Click the “Admin” link in the lower left corner of the page
- Navigate to
Configuration > SAML
1.1.1. General settings
- Under “SAML GENERAL SETTINGS,” click “Edit”
- Check the checkbox to enable SAML
- Click “Save”
2. Trusona Dashboard
2.1. Configure Trusona Integration
2.1.1. Log into Trusona
Log into your Trusona account at trusona.dashboard.com
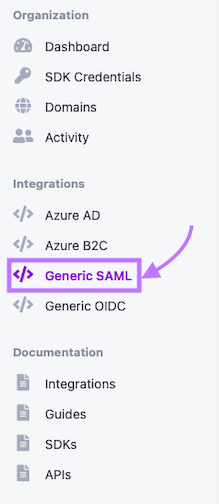
2.1.2. Navigate to the generic integration option(s)
Locate the navigation bar on the left side of the main page, and click on the Generic SAML tab
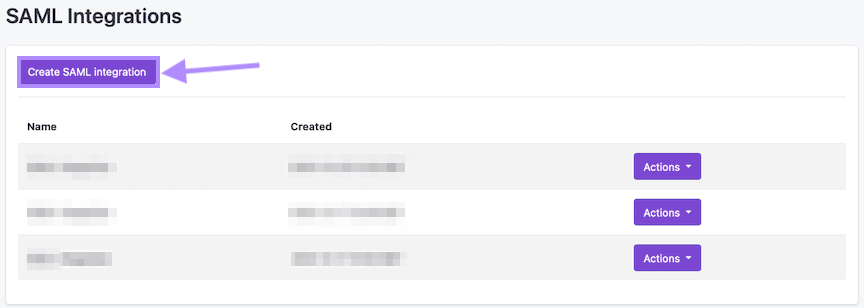
2.1.3. Creating a new generic integration
Click on the Create button to begin
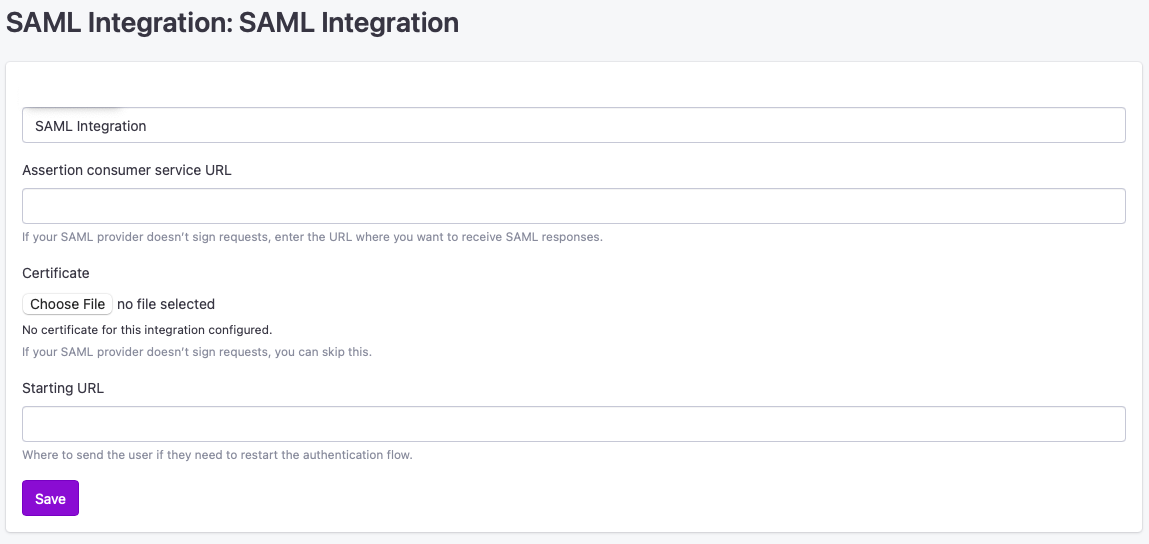
2.1.4. Customize & Upload Data
Be sure to fill in all the necessary information requested, and upload any files/documents needed. Failure to do so may prevent Trusona from creating the integration successfully
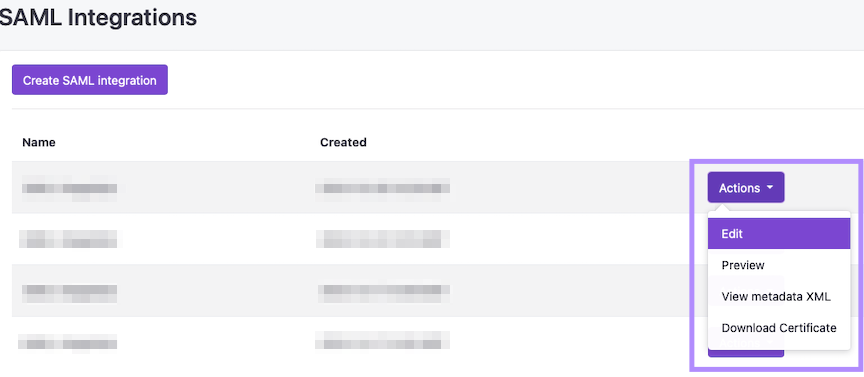
2.1.5. Additional actions for integrations
Once you have created your integration, you will be redirected back to the integration dashboard. From there, you should be able to see your new integration listed.
To the right of it, click on the Actions button. You will be presented with a number of different options you can select, depending on your requirements.
2.2. Identity provider setup
- Click “Create new Identity Provider”
- Choose the “Import IdP from XML Metadata” option
- Upload the IdP XML Metadata file sent to you by Trusona in step 2
- Click “Advanced Settings” for the imported metadata
- Un-check all fields except:
- “Sign Authn Request”
- “Require Signed Assertion” (or “Signed SAML Response”)
- Click “Ok”
2.3. Enable Trusona as the Identity Provider
The following steps finalize the use of Trusona as a third party SAML Identity Provider.
- Click the pencil icon next to the trash can icon
- Deselect “Enabled” for “SINGLE LOGOUT”
- Click OK
2.4. Testing the integration
- Open a new private browsing window
- Navigate to your Thycotic instance
- Login with Trusona
2.5. Vanity URL setup
Add a new CNAME DNS record for your domain.
- Set the “host” value to the URL you’d like users to see when logging in
- Set the “Answer” value to ssl.trusona.net
- Set the TTL to 300
Here’s an example of a CNAME answer when retrieved by dig tada.trusona.com.
tada.trusona.com. 3600 IN CNAME ssl.trusona.net.