1. Install and configure the Trusona Mac Setup app
(1) Download the Trusona Mac Setup app to install the application, drag it to your Applications folder.
(2) Launch the Trusona Mac Setup app. If this is the first time you are launching the app, you will be prompted to enter an administrator password so the app can install a Privilege Helper tool. This tool allows the setup app to store your credentials safely and modify the authentication process used to login to your computer.
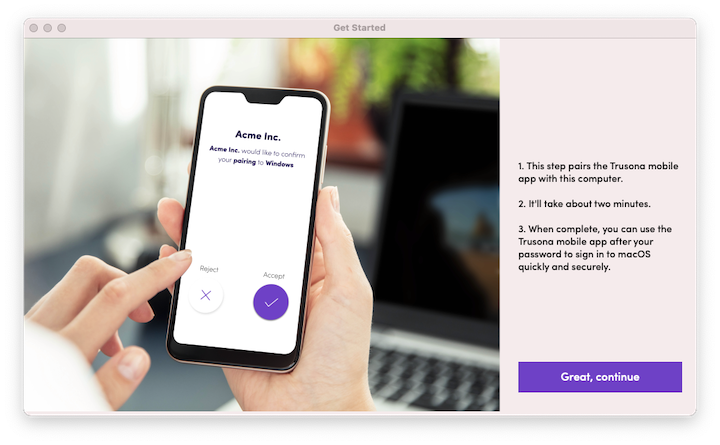
A Get Started window will appear.
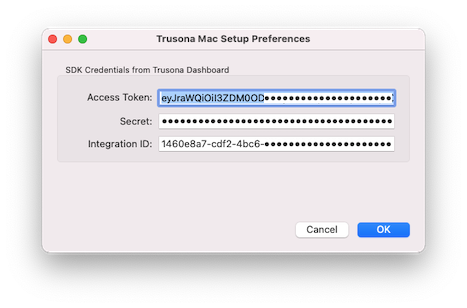
(3) Open the Preferences window (Trusona Mac Setup > Preferences). If your Trusona SDK credentials are already filled in, you can skip ahead to section 2 Getting Started.
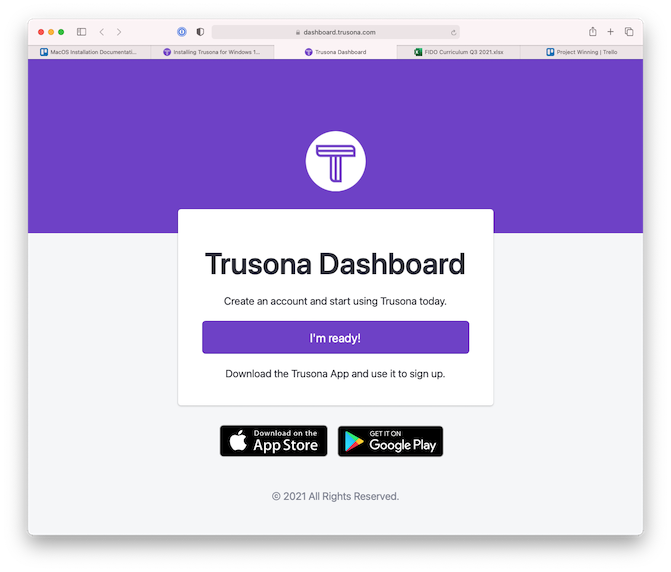
(4) If the SDK credentials are not already filled in as above, you will need to obtain them from the Trusona Dashboard. Navigate and Log in to the Trusona Dashboard - https://dashboard.trusona.com.
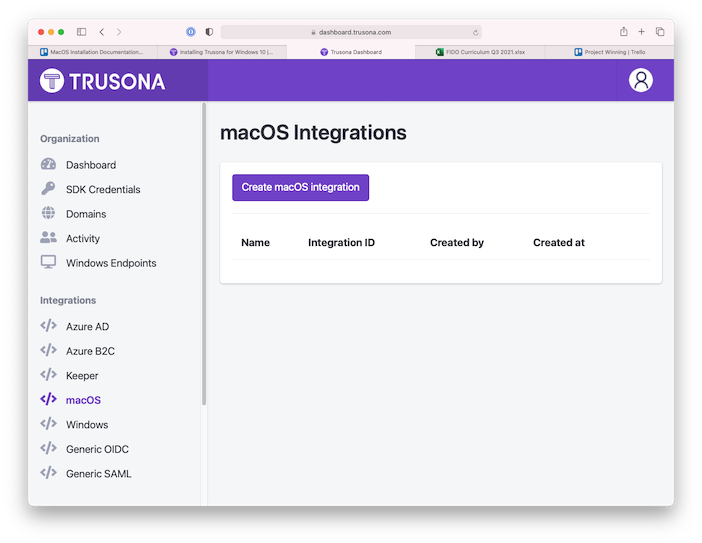
(5) On the dashboard home page, click on “SDK Credentials” on the left navigation pane and then click “Create Server Credentials”.
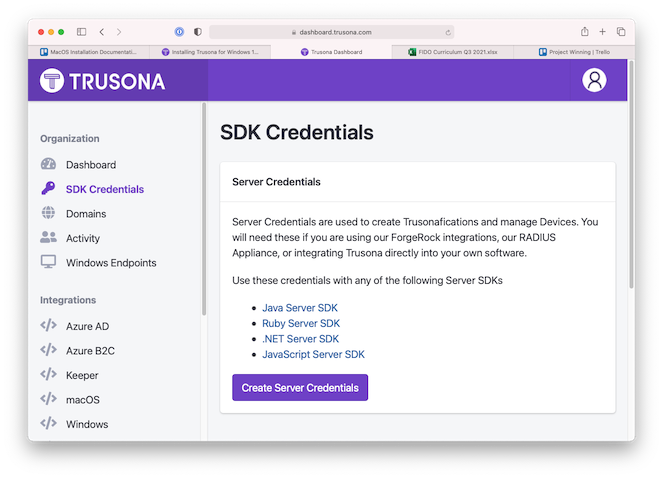

(6) Copy and paste these credentials into the corresponding fields of the Trusona Mac Setup preferences window. Once you navigate away from this page, these SDK credentials will not be shown again. You can copy them to a safe place (recommended), or create new ones if needed.
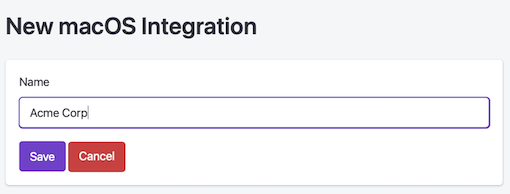
(7) Under the “Integration” subheading on the left, click on “macOS”. Press “Create macOS integration” and give your integration a name.
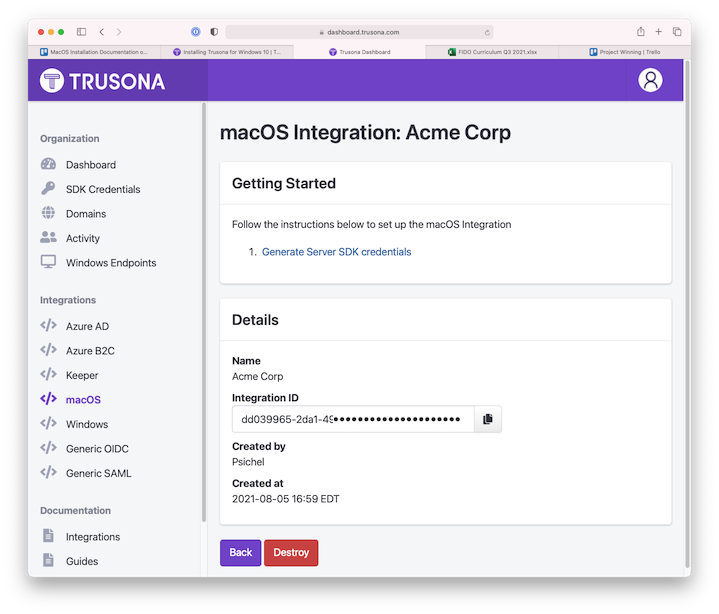
(8) Copy and paste the Integration ID to the corresponding field in the Trusona Mac Setup preferences window.
(9) Click OK in the Preferences window to save your credentials and close the window.
2. Getting Started
In this section you will associate your smartphone with your Mac and do a test login.
(1) Click in the Get Started window if it is visible or navigate to Trusona Mac Setup > Help > Get Started
(2) Follow the on-screen instructions to step through setting up the mobile app and pairing your smartphone with your computer. You may have already setup the Trusona mobile app and account previously.
(3) After you have “paired” your phone with your computer, complete the practice login. This ensures you will be able to log in once you enable Trusona authentication.
(4) The last step of the Get Started walk-through is to enable Trusona authentication.
(5) To test that you can authenticate, navigate to System Preferences > Security & Privacy and then click on the lock (lower left) to authorize making changes. You should be prompted for your password followed by a request to approve in the Trusona Mobile App.
(6) After you enable Trusona, you will need to logout and log back in once before the Lock Screen will require Trusona authentication. MacOS doesn’t see the change to the Lock Screen configuration until the next time you login.
(7) If you are only installing Trusona on this one computer, you are done. You can quit Trusona Mac Setup.
If you update to a newer version of the software, you may need to launch the Trusona Mac Setup application to update the Authorization Plugin and/or Privilege Helper. A “Software Update Complete” dialog will appear if an update was needed.
3. Enterprise Deployment
Changing the way MacOS authenticates requires a subtle installation process. The following sections describe how an enterprise administrator can automate most of the process to minimize the steps users need to perform. It assumes you will be using an MDM like Jamf or Kandji.
There are 4 components to install:
- The application itself (Trusona Mac Setup.app) which should be placed in the /Applications folder.
- A file containing “SDK Credentials” used to identify the Relying Party and authenticate to the Trusona online service. This file is named “credential.json” and placed at /Library/Application Support/Trusona. The file is read and deleted automatically when the application is launched.
- An optional configuration file named “config.plist” placed at /Library/Application Support/Trusona. This file is used to configure the desired authentiation use cases such as Login and Lock Screen (wake from sleep).
- A command line utility for updating and checking the configuration remotely from an MDM. This utility is called “truconfig” and placed at /usr/local/bin.
The first time the Trusona Mac software is installed on a new system it must be launched explicitly by a logged in user who can authenticate as an administrator. Running the setup application also provides a simple tutorial that walks the user through registering the user’s smartphone with their Mac, practicing a login, and enabling Trusona authentication.
To make this user experience as simple a possible, an administrator can pre-load the needed SDK credentials and desired configuration file. Once this initial installation is complete, the software can be updated in many cases without any end user interraction. This update process is performed using the truconfig command line utility.
3.1. Create a “credential.json” file
To setup Trusona authentication for additional users, you will need to create a small file containing SDK credentials that can be placed on each computer. The file must be named credential.json and will be placed at: /Library/Application Support/Trusona/. The format of the file which you can edit with your SDK credentials is shown below:
{
  "mac_key" : "SECRET_FROM_DASHBOARD",
  "api_host" : "https:\/\/api.trusona.net",
  "access_token" : "TOKEN_FROM_DASHBOARD",
  "integration_id" : "INTEGRATION_ID_FROM_DASHBOARD"
}
3.2. Generating a “config.plist” file (optional)
The config.plist file contains 5 relevant settings:
- useTrusonaLogin
- useTrusonaPrivilegeEscalation
- useTrusonaLockScreen (defaults to no)
- useTrusonaFUS (Fast User Switching)
- disableFDEAutoLogin - prevents the pre-boot FileVault unlock screen from being carried forward to bypass macOS Login.
By default all are enabled except for Lock Screen. If a different configuration is desired, an administrator can create a config.plist file as follows:
- Run the Trusona Mac Setup application.
- Open the hidden “Test and Debug” window (Option-Window menu, slide down to Test and Debug).
- Use the Advanced tab to select your configuration options.
- Copy the config.plist file located at /Library/Application Support/Trusona/config.plist to a safe place on your drive.
3.3. The “truconfig” command line utility
The truconfig command line utility allows you to interact with the Trusona configuration using UNIX style terminal commands either locally, or invoked from a script using your MDM system.
To get started, open a terminal window and type “truconfig –help” to show the available commands and optional parameters.
| truconfig option | Description |
|---|---|
| –apply | Apply settings from config.plist file in Trusona folder. |
| –app-version | Print authorization plugin version installed (if any). |
| –config | Print config.plist settings. |
| –config-verify | Verify config.plist file hash is valid. [check=yes, or check=no] |
| –log <level> | Set debug logging level (error, info, debug, plugin, all). |
| -h –help | Print this description. |
| –host | Print host name. |
| –status | Print active configuration as CSV. |
| –update-plugin | Update authorization plugin from Trusona Mac Setup.app in /Applications |
| –user <account> | Print “<account>=<yes/no>” if account is configured for trusona. |
| –version | Print truconfig version. |
The truconfig tool can be used to:
- Update or verify the active configuration including whether the Privilege Helper has been installed and a user has registered a smartphone with their computer.
- Update the authorization plugin on-the-fly without requiring any user interraction.
3.4. Install Steps
In MDMs like Jamf you open a package, place files as desired, close the package, and then configure any command line scripts. The steps are outlined below.
- Obtain or create needed files: Trusona Mac Setup.app, truconfig, credential.json, config.plist
- Place files at target locations: Trusona Mac Setup.app –> Applications/ truconfig –> /usr/local/bin/ credential.json –> /Library/Application Support/Trusona/ config.plist –> /Library/Application Support/Trusona/
- Remove the quarantine attribute from the Trusona Mac Setup application. This tells macOS not to show the “<application-name> was downloaded from the Internet” dialog. You can use the following terminal command: % xattr -d com.apple.quarantine “/Applications/Trusona Mac Setup.app”
If this is the first time the application is being installed on the users system. You will need to stop here so the user can run the application and authorize it on their system. Once a user has previously run and authorized the setup application, you can add the following script.
truconfig --update-plugin
truconfig --apply
If you are installing a new version of the Trusona Mac Setup.app, you should update the plugin first, and then apply the previous or new configuration (config.plist).
The –apply command will show the the configuration to be applied (–config) and the new active configuration (–status) to confirm the expected operation.
4. Mass Deployment of Trusona macOS App using Jamf Pro
Prerequisites:
- Trusona SDK Credentials as described above (section 1.1).
- Jamf Pro
- Composer app
- Trusona Mac Setup app
- Mac test machine
4.1. Create the package
a. Start with a clean install of macOS on your Apple test computer
b. Install Composer on test machine (the Composer app is included with your Jamf Pro license, please see user guide for details: https://www.jamf.com/resources/product-documentation/composer-user-guide/)
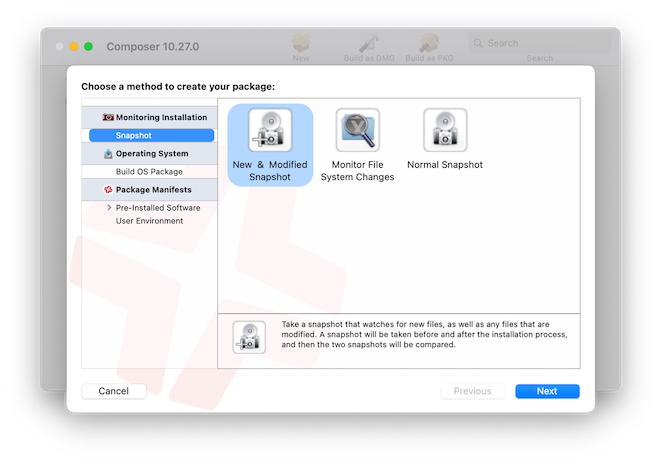
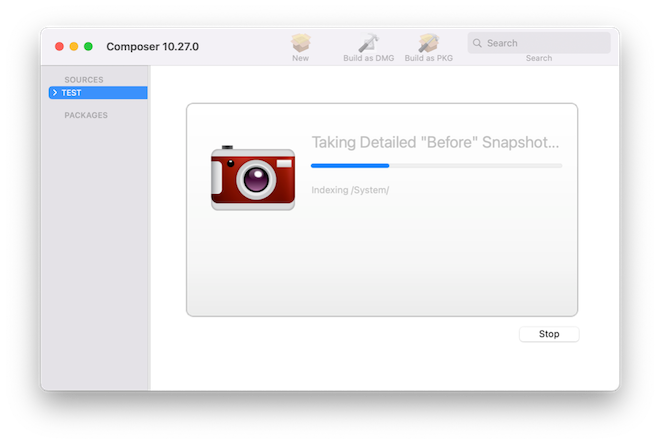
c. Create a new “New and Modified Snapshot” in Composer:
d. Wait until “Before Snapshot” is complete:
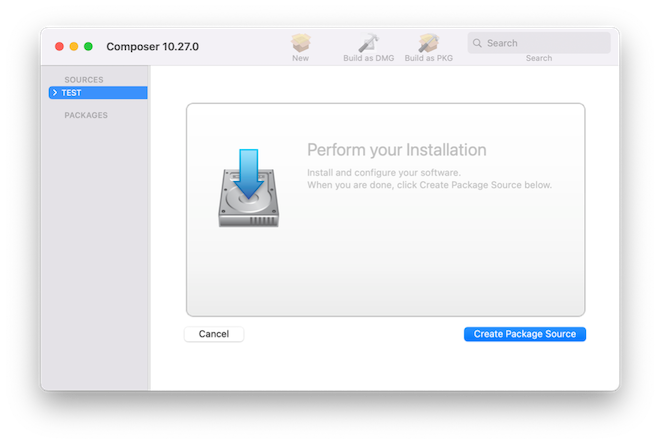
e. Place the Trusona Mac Setup app in the root Applications folder (ensure this is the root application folder and NOT the user application folder or else the app will only be available to the currently logged in user).
f. Place the credential.json file you created above at: /Library/Application Support/Trusona/
g. Finish the snapshot process and select the “Create as DMG” option.
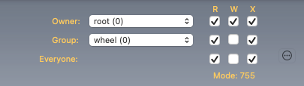
h. Set Owner to root and Group to wheel:
4.2. Deploy via Jamf Pro
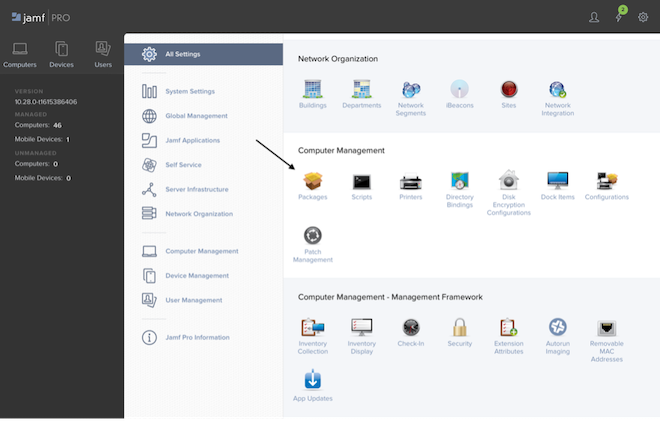
i. Upload the package created in step one to the Jamf Pro repository under All Settings/Computer Management:
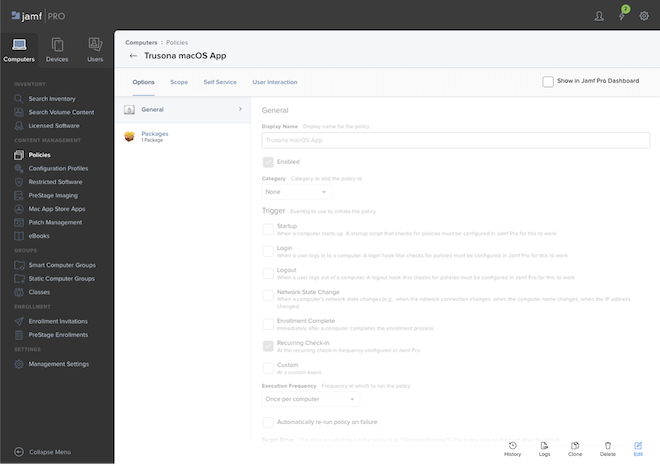
j. Create a new Computer policy
k. Configure the Packages blade and select the newly created package
l. Define your scope
m. Set the Trigger to “Recurring Check-In”
n. Set the Execution Frequency to “Once per computer”
o. Save the policy
5. Mass Deployment of Trusona macOS App using Kandji
Prerequisites:
- Trusona SDK Credentials as described above (section 1.1)
- Kandji
- Trusona Mac Setup app
- Mac test machine
5.1. Create the custom application for the Trusona installer
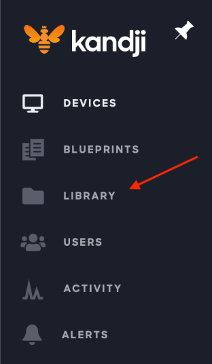
(1) From the Kandji admin portal, click on “Library” in the left-hand menu

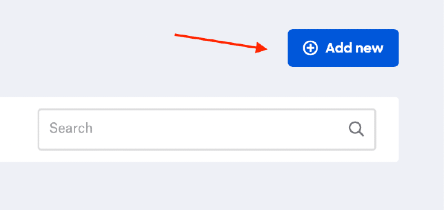
(2) Click on the blue “Add new” button in the upper right-hand corner
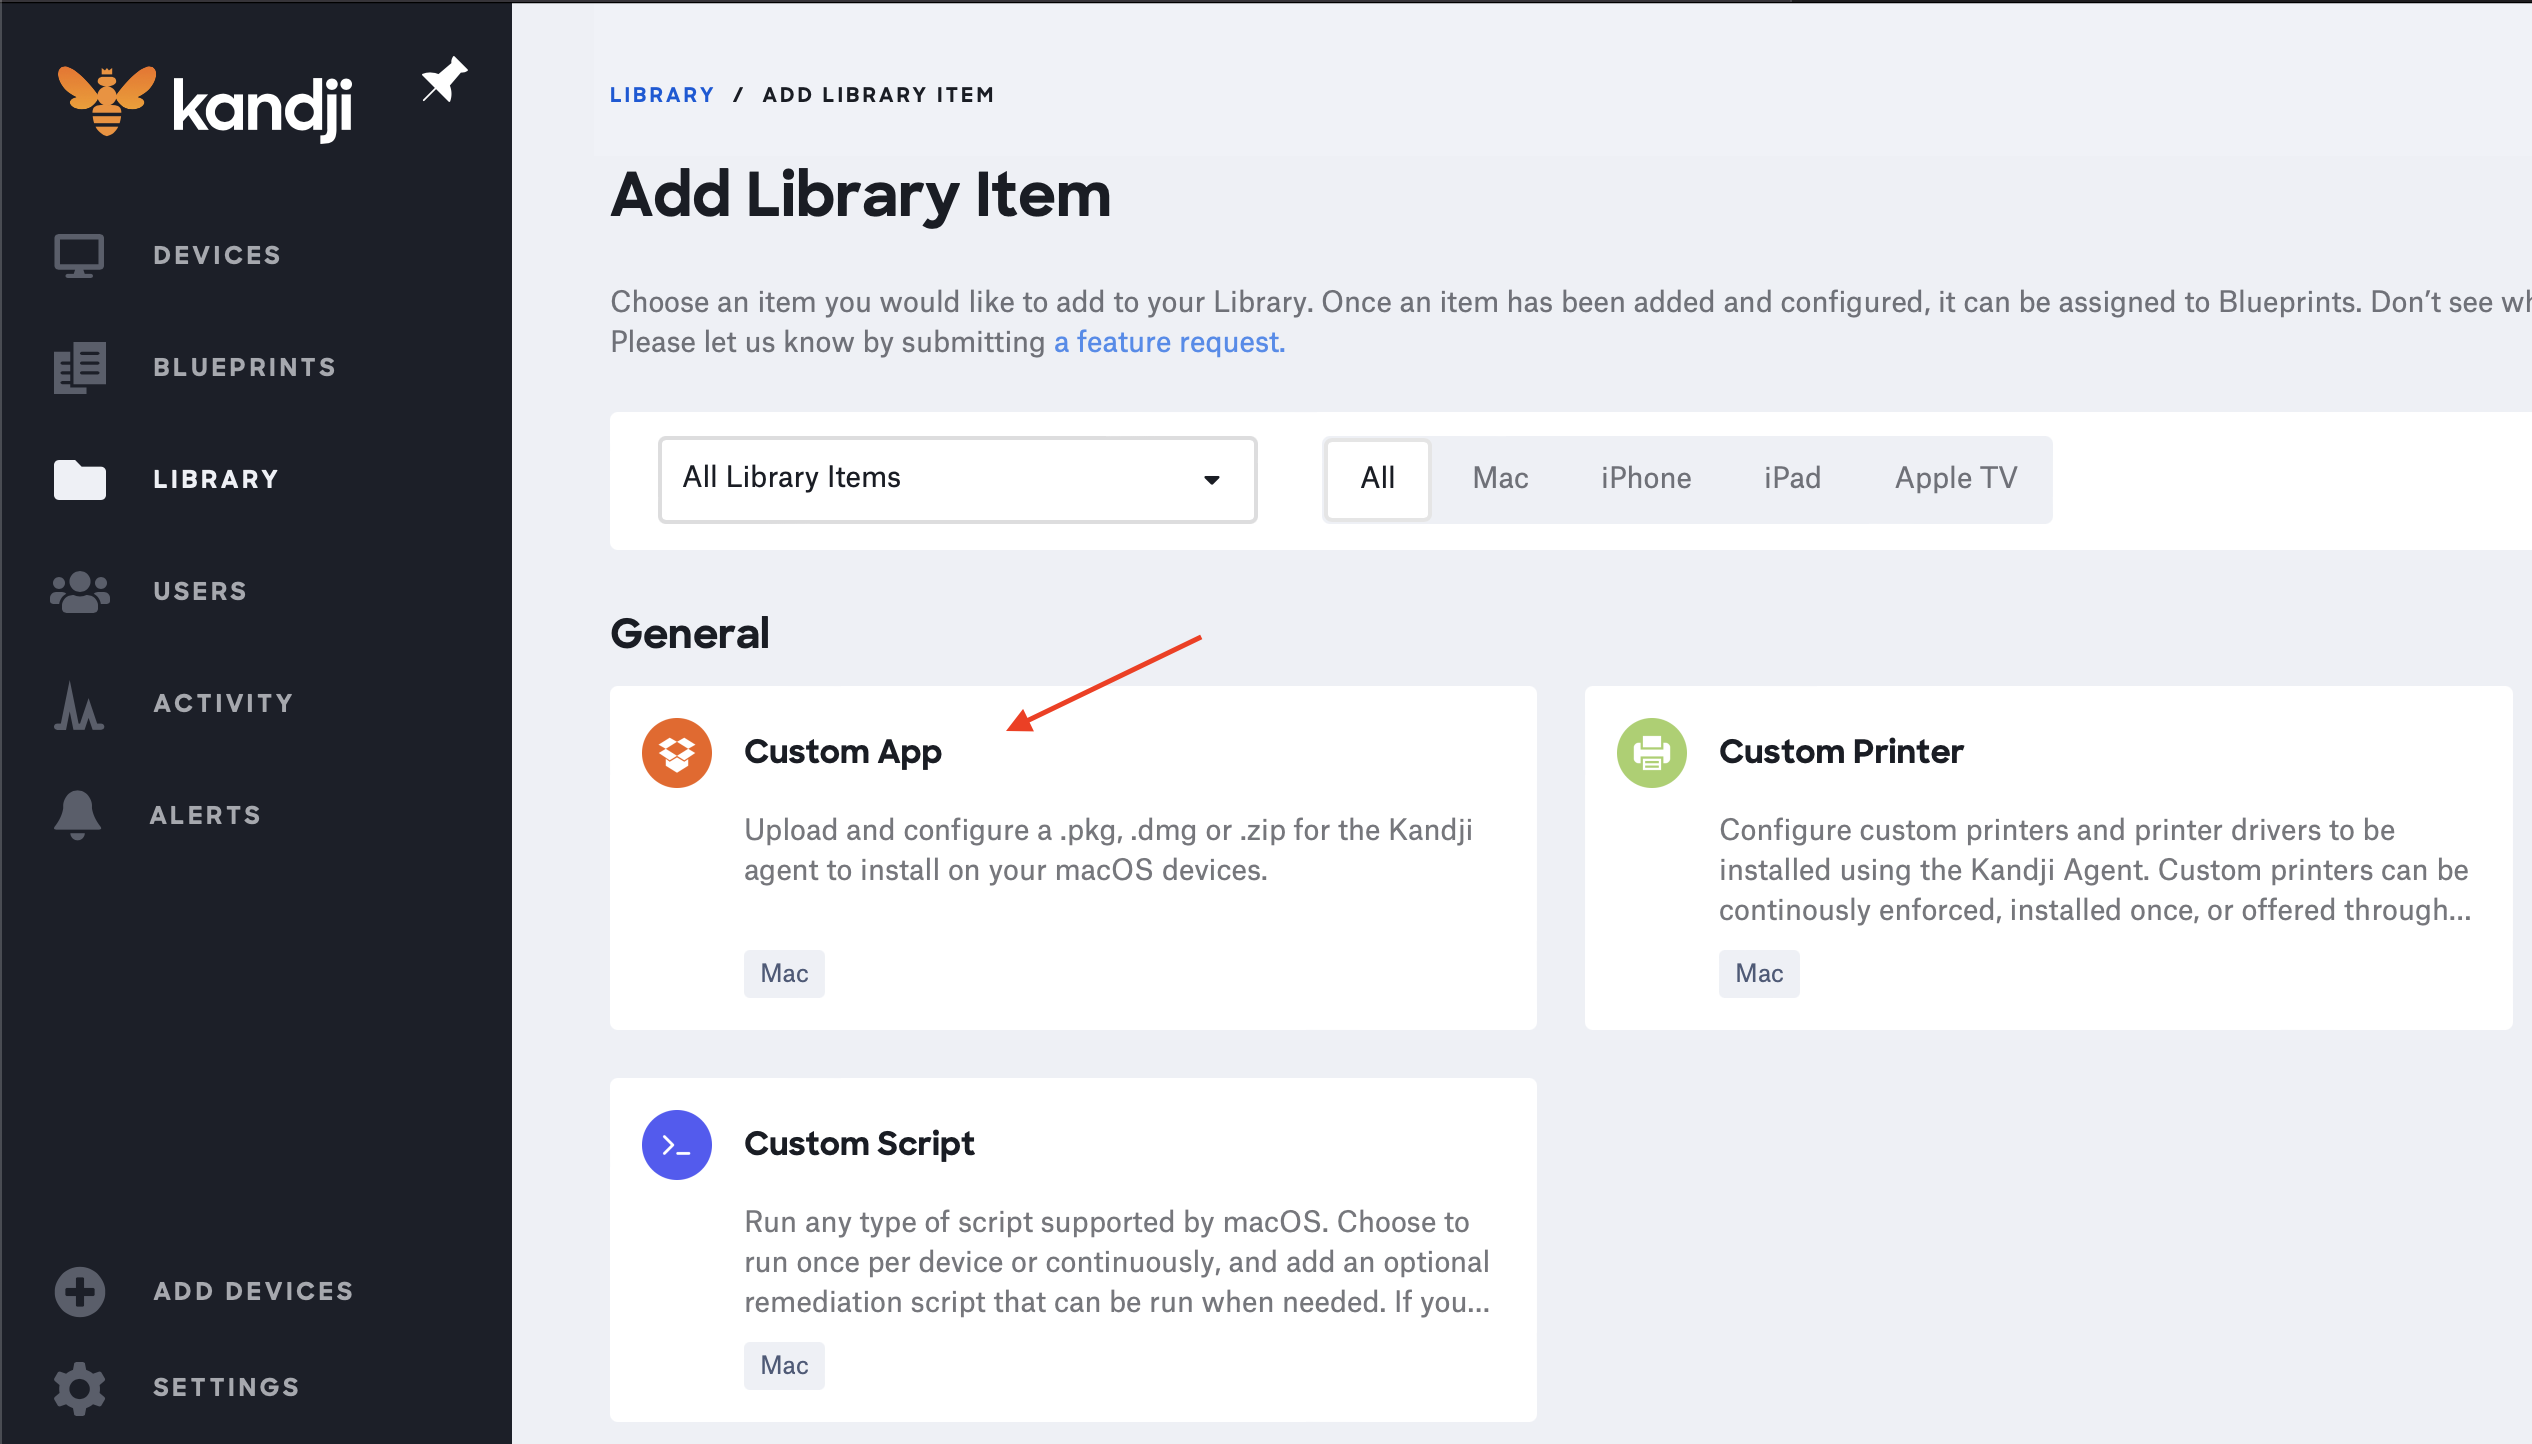
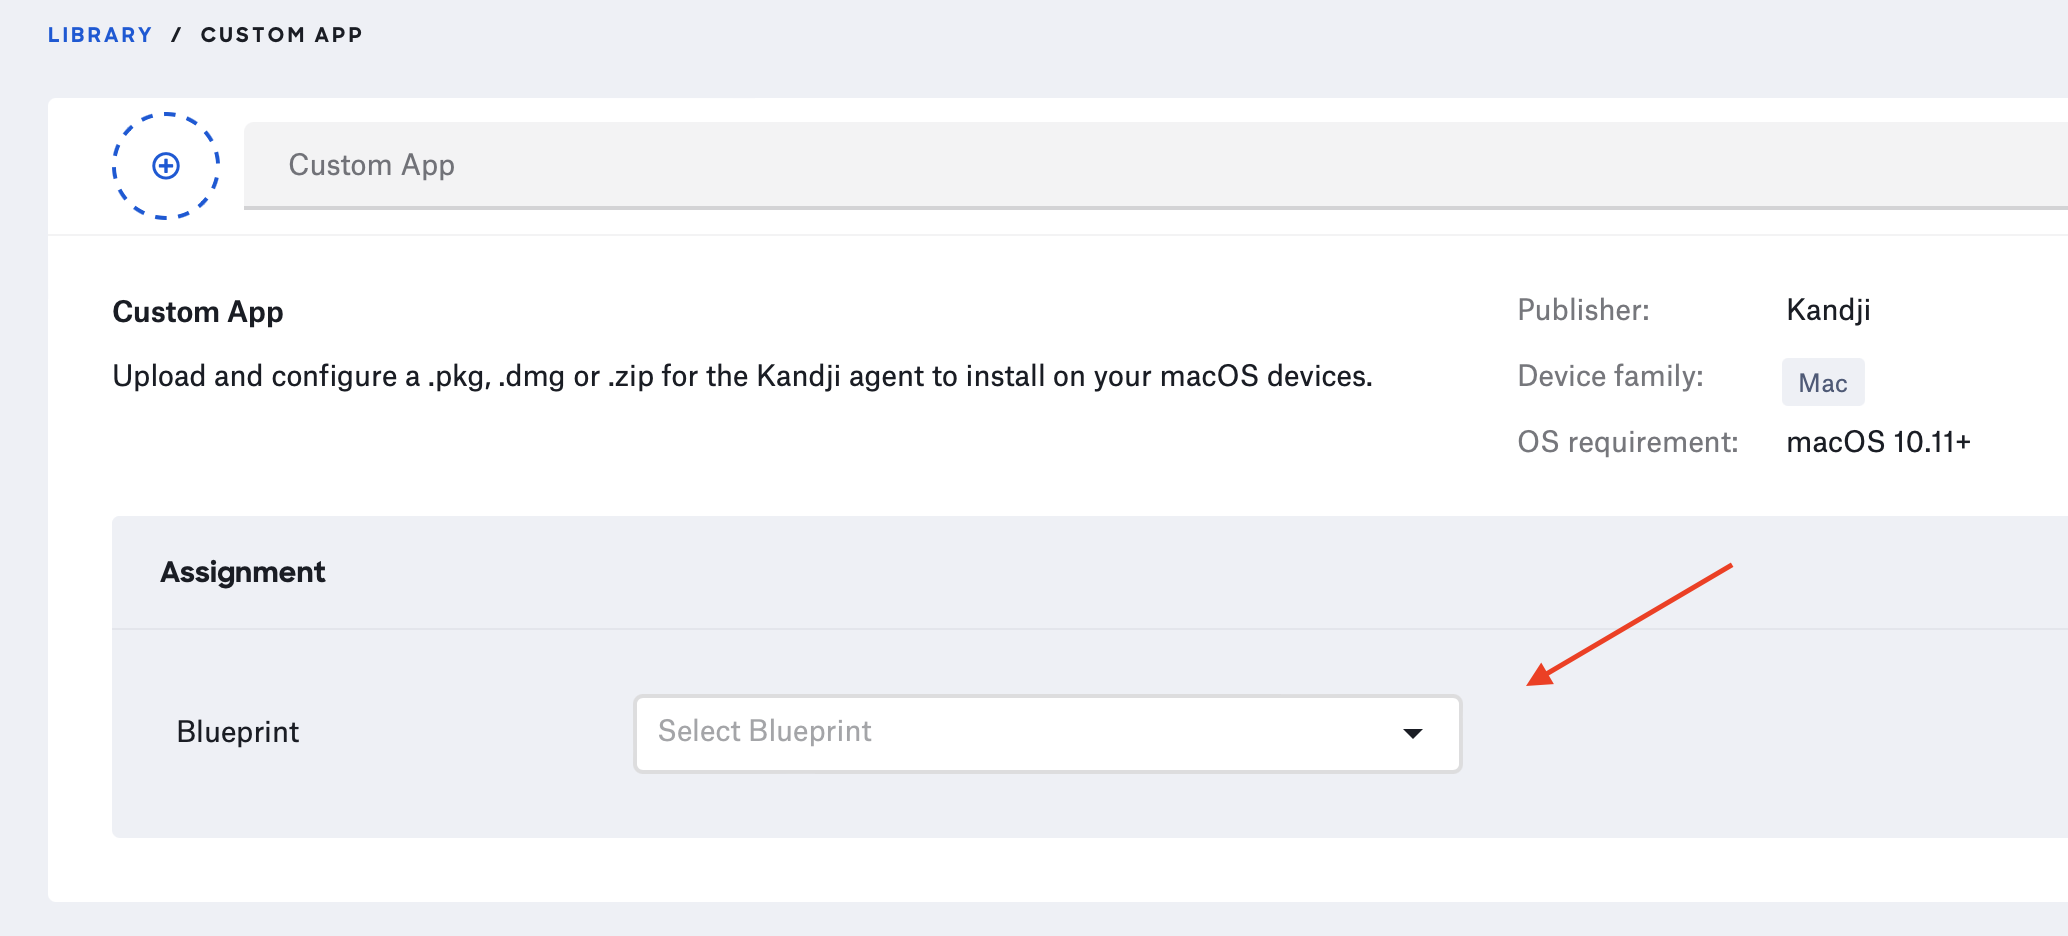
(3) Under “General”, click “Custom App”
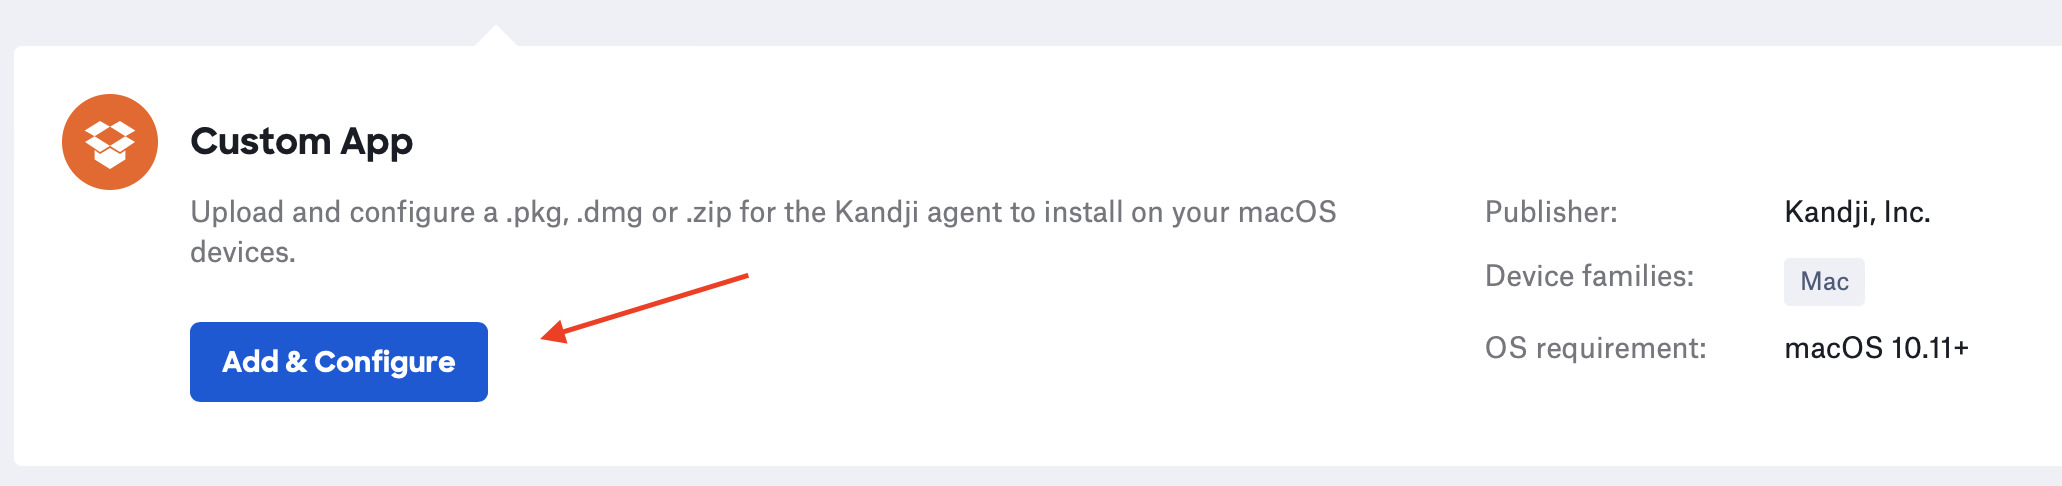
(4) Click the blue “Add & Configure” button
(5) Under the “Assignment” section, select the Blueprint that is assigned to the device you want to install Trusona on

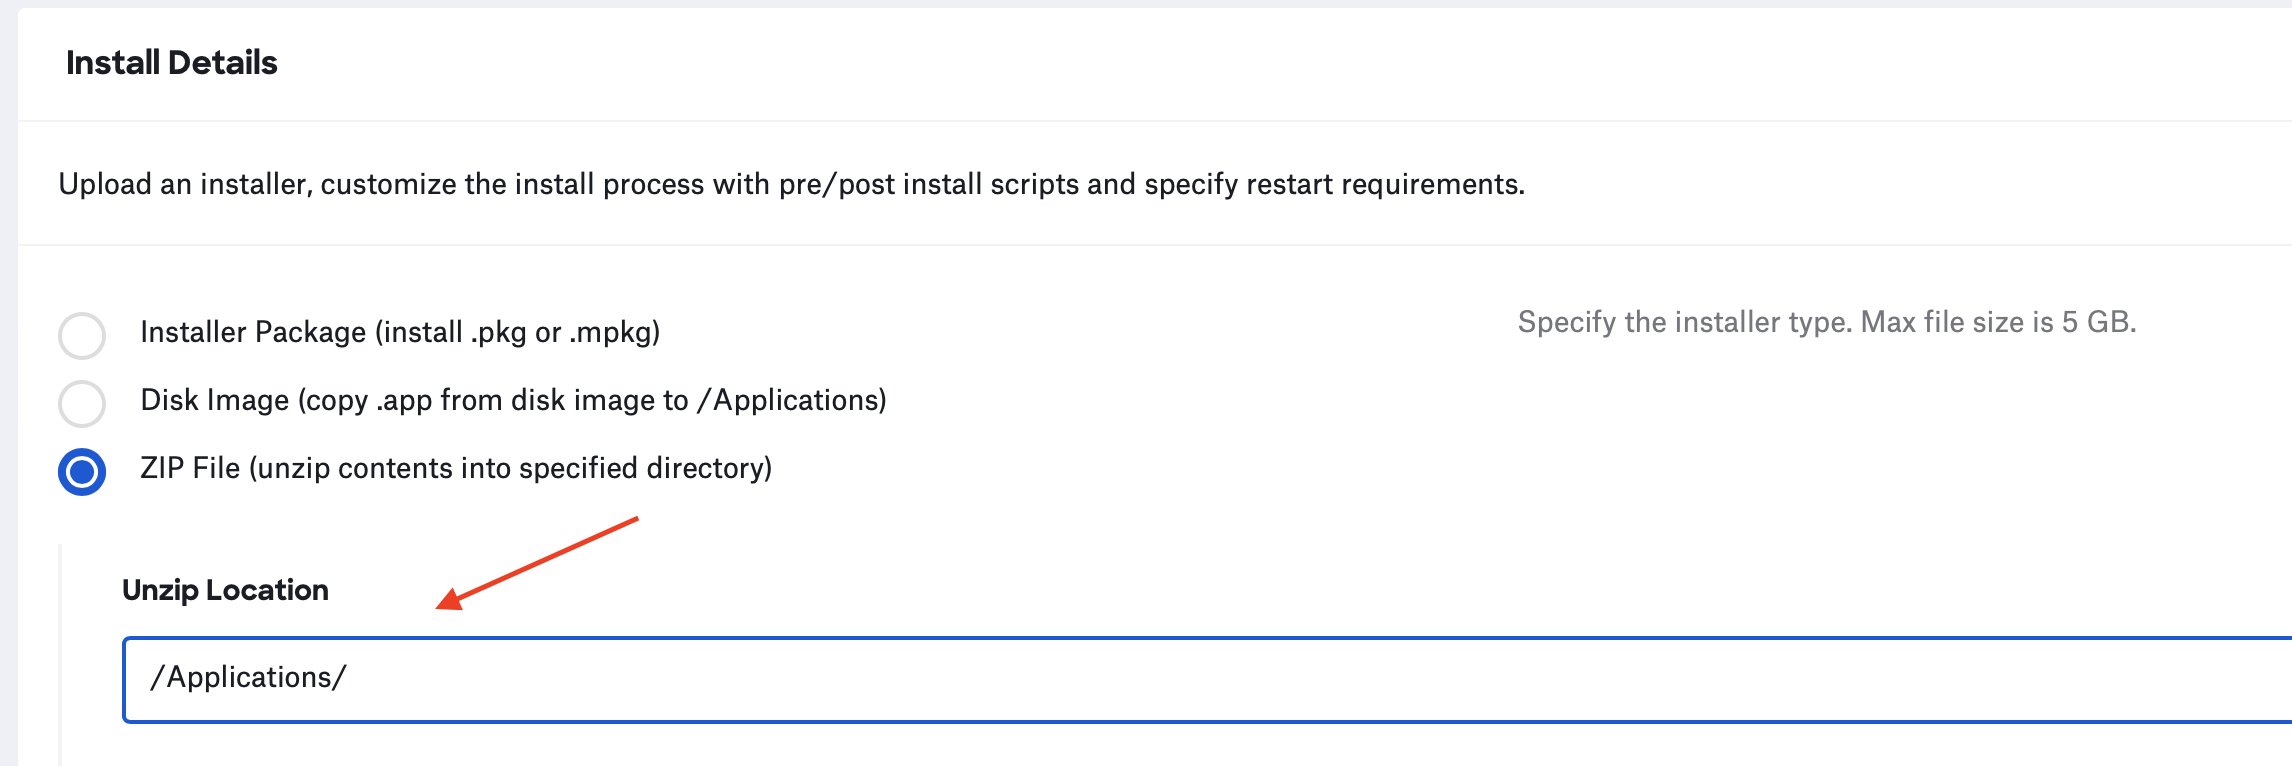
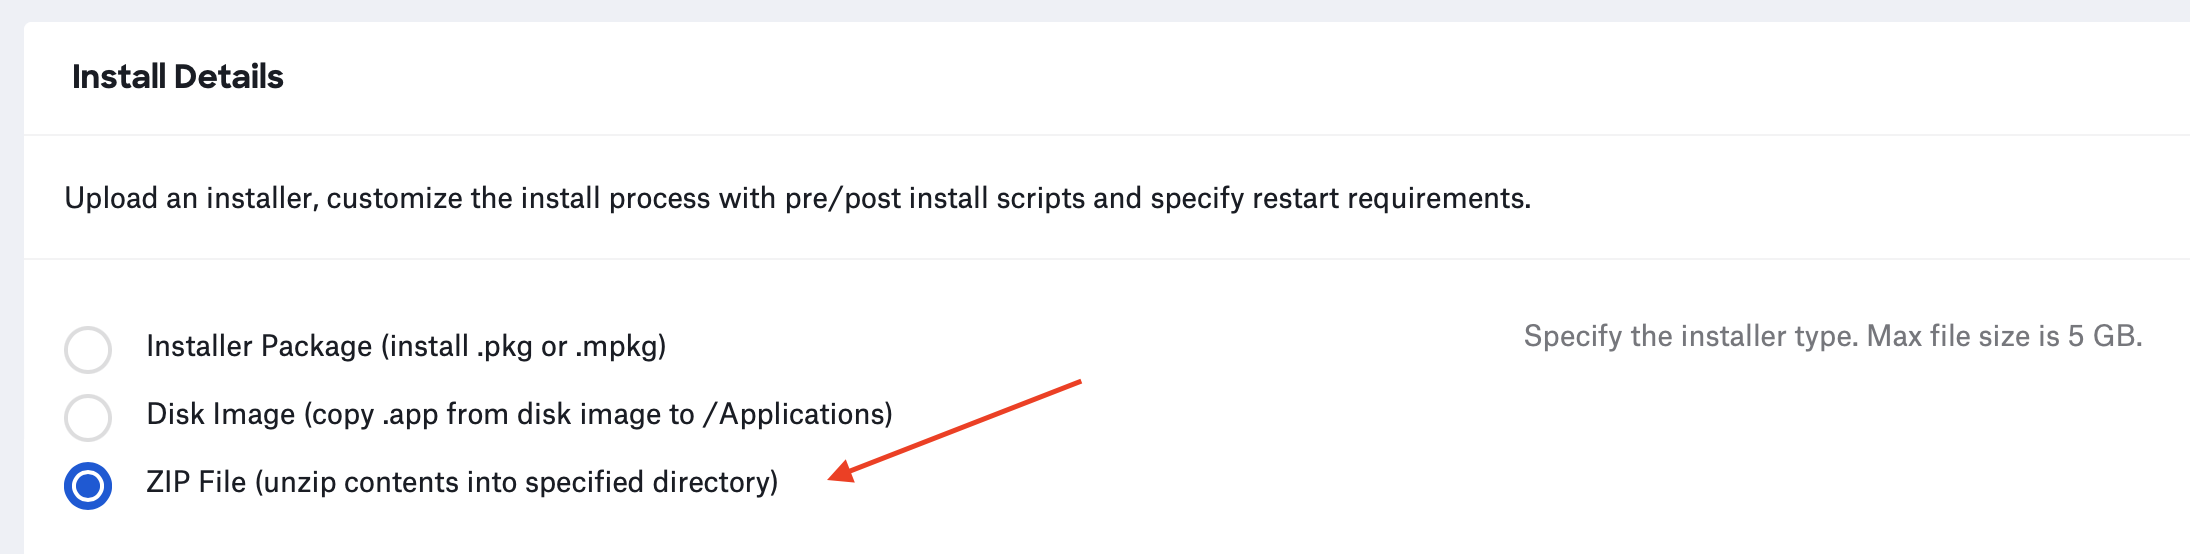
(6) Scroll down to “Install Details” and select the “ZIP File” radio button

(7) In the “Unzip Location” text field enter “/Applications/”
(8) Drag and drop the Trusona app to the upload section under “ZIP File”

(9) Click the blue “Save” button in the bottom right-hand corner
5.2. Create the custom application for the credential.json file
(1) Click on “Library” from the left-hand menu
(2) Click on the blue “Add new” button in the upper right-hand corner

(3) Under “General”, click “Custom App”

(4) Click the blue “Add & Configure” button

(5) Click the blue “Add & Configure” button
(6) Scroll down to “Install Details” and select the “ZIP File” radio button
(7) In the “Unzip Location” text field enter, “/Library/Application Support/Trusona/”
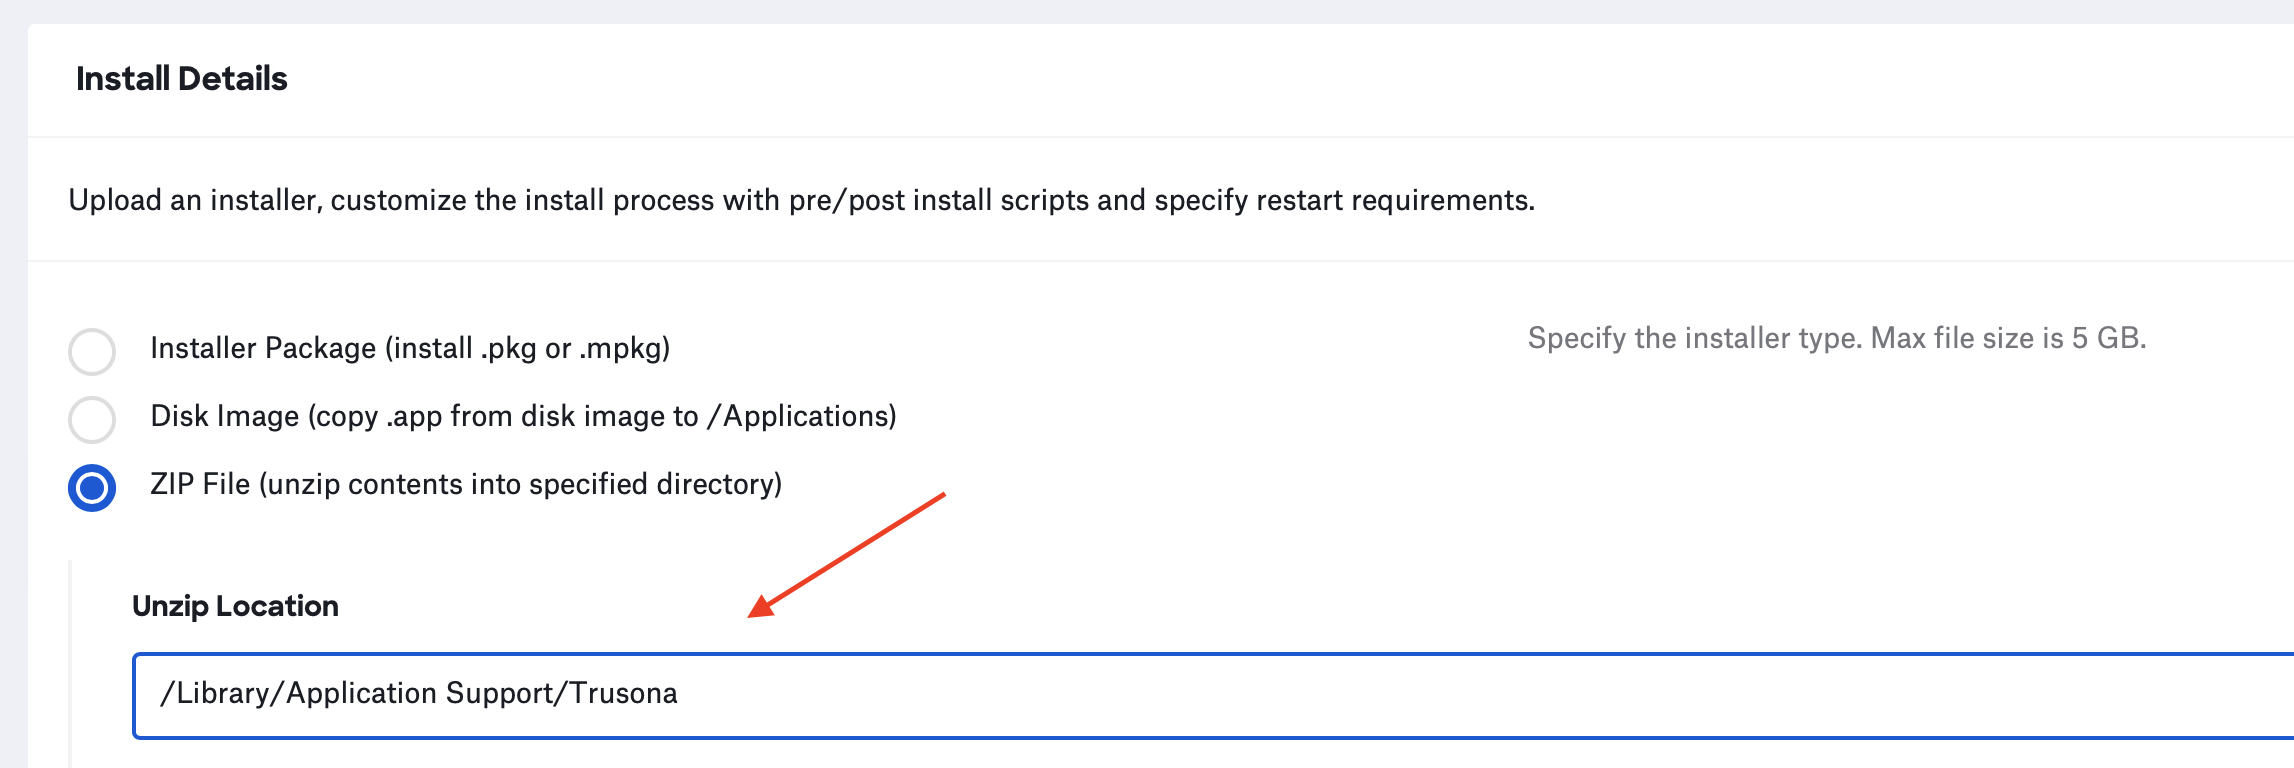
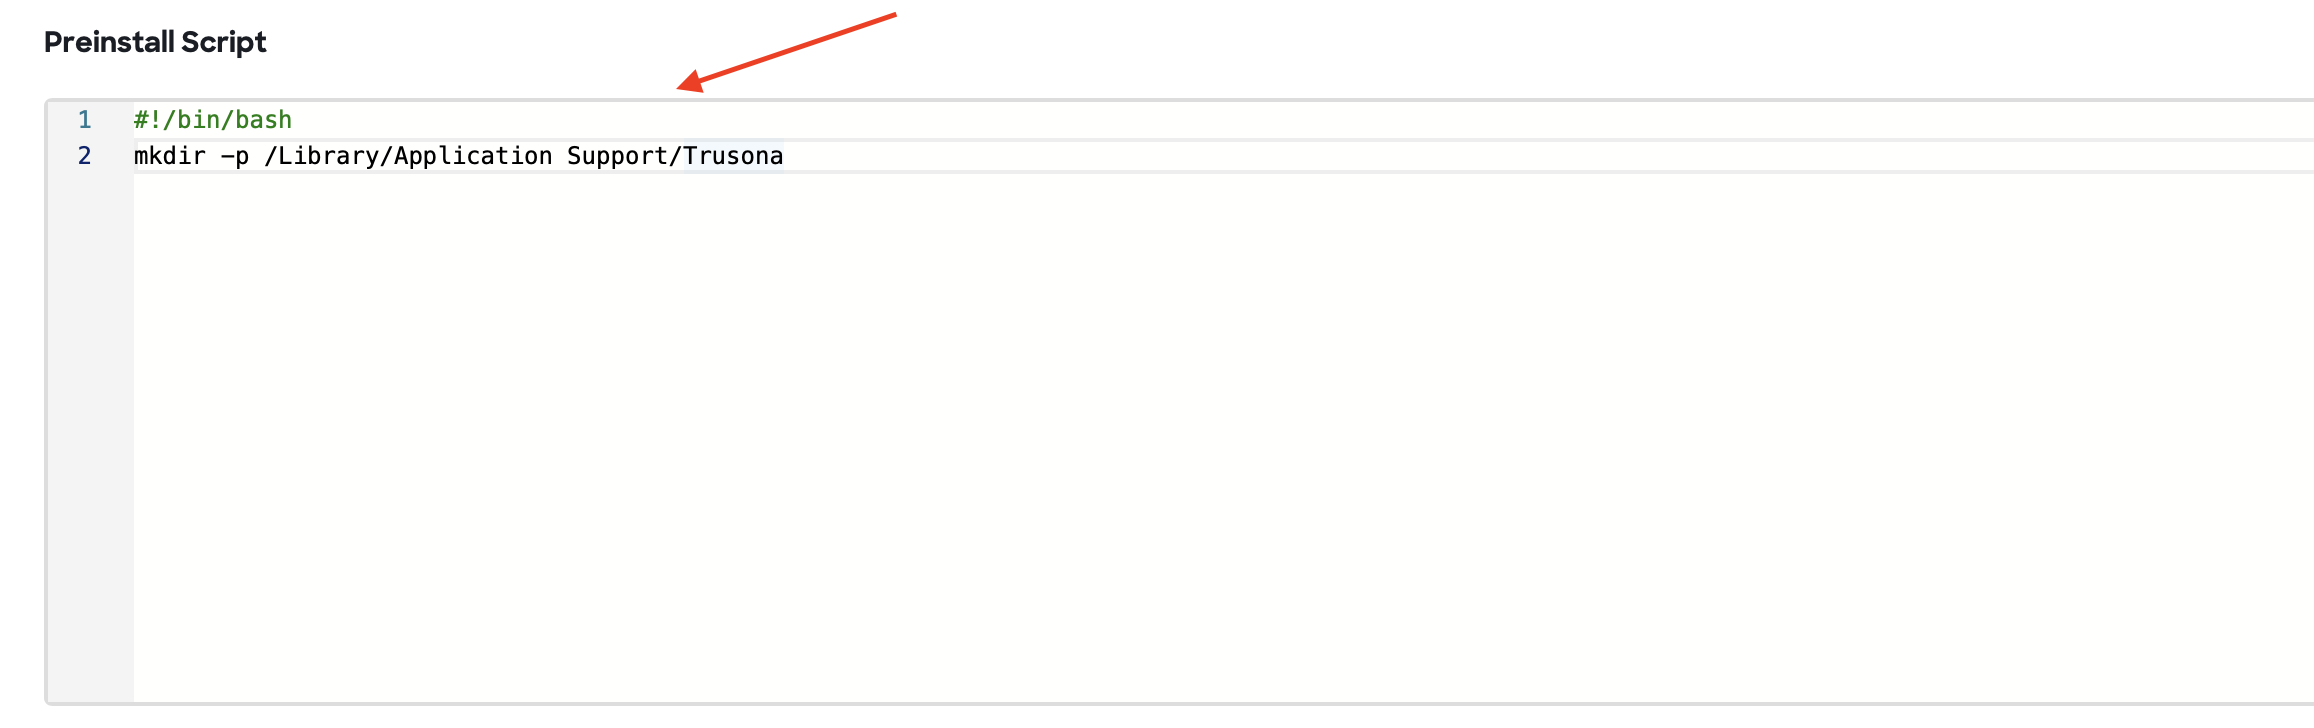
(8) In the “Preinstall Script” text field enter:
#!/bin/bash

mkdir -p "/Library/Application Support/Trusona"
(9) Drag and drop the credential.json file to the upload section under “ZIP File”

(10) Click the blue “Save” button in the bottom right-hand corner
The Trusona application will be installed the next time the machine checks in with Kandji (15 minutes by default). To force a check-in, open Terminal on the target machine and type:
sudo Kandji run
After installation, you will find the Trusona app in the Applications folder.
6. FileVault Considerations
Many enterprise deployments use FileVault which alters the login sequence. This section explains how you can use Multi-Factor authentication with FileVault.
When you Restart or power on your Macintosh, it first boots from a hidden partition called Recovery to show the FileVault 2 pre-boot login screen. Apple cleverly makes this screen look very similar to the macOS login window so many users are not aware that macOS hasn’t started yet.
6.1. Restart with FileVault ON
Upon restart, the pre-boot login screen prompts for your FileVault password to unlock the Startup partition containing macOS. The FileVault password you enter is temporarily saved in the Authorization Context for the next phase.
After macOS starts up it attempts to login using the FileVault password that was saved in the Authorization Context if any. If the login succeeds, you will be logged in automatically so you don’t need to enter your password a second time. In this case the Trusona authorization plugin is not invoked.
To get around FileVault bypassing Trusona authentication, an administrator can disable the autologin feature (DisableFDEAutoLogin). In this case Trusona two factor authentication will be required for macOS login even though FileVault prompted for a password at the pre-boot login screen.
6.2. Restart with FileVault OFF
When FileVault is not enabled, pre-boot unlocks the Startup Disk containing macOS without requiring a password. There is no FileVault password saved in the Authorization Context so macOS will invoke the Trusona authorization plugin to complete the login process.
We hope you enjoy using Trusona for the Mac and are here to help.
- The Trusona team