Trusona's Salesforce Integration Guide from Trusona on Vimeo.
1. Configure integration
1.1. Log into Trusona
Log into your Trusona account at trusona.dashboard.com
1.2. Navigate to the generic integration option(s)
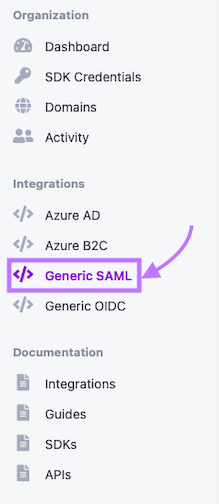
Locate the navigation bar on the left side of the main page, and click on either the Generic SAML or Generic OIDC tab
1.3. Creating a new generic integration
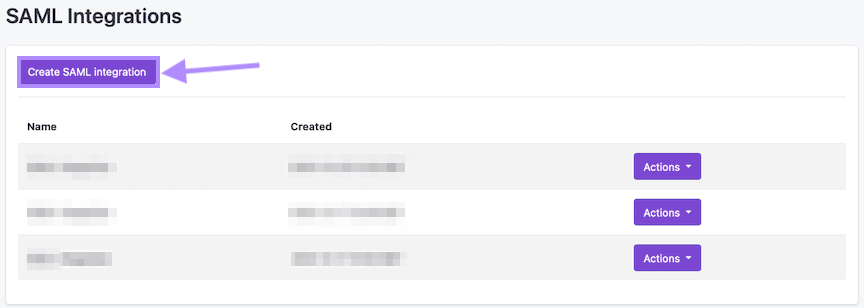
Click on the Create button to begin
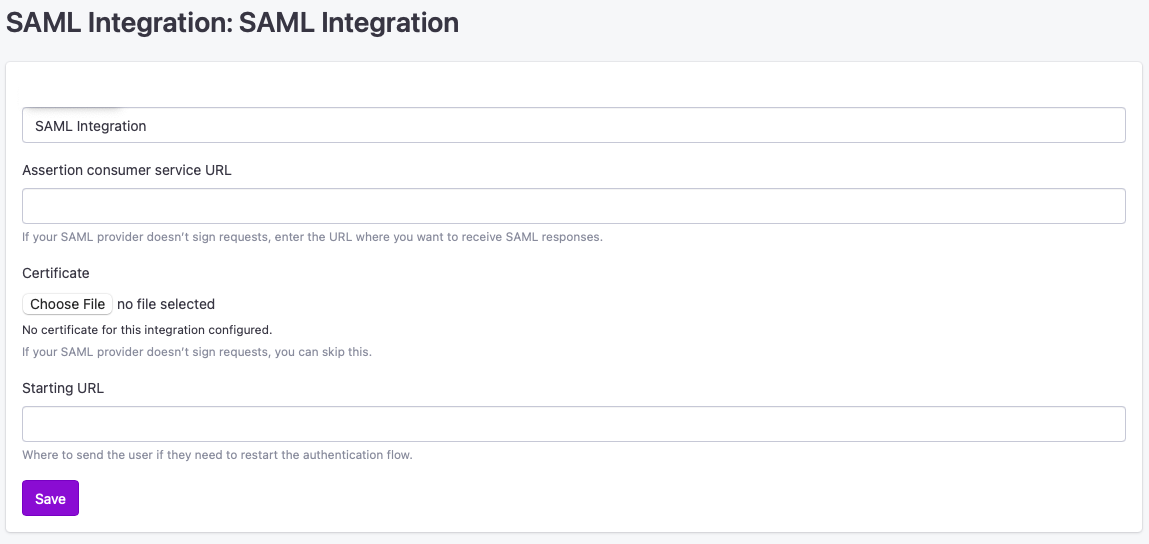
1.4. Customize & Upload Data
Be sure to fill in all the necessary information requested, and upload any files/documents needed. Failure to do so may prevent Trusona from creating the integration successfully.
1.5. Additional actions for integrations
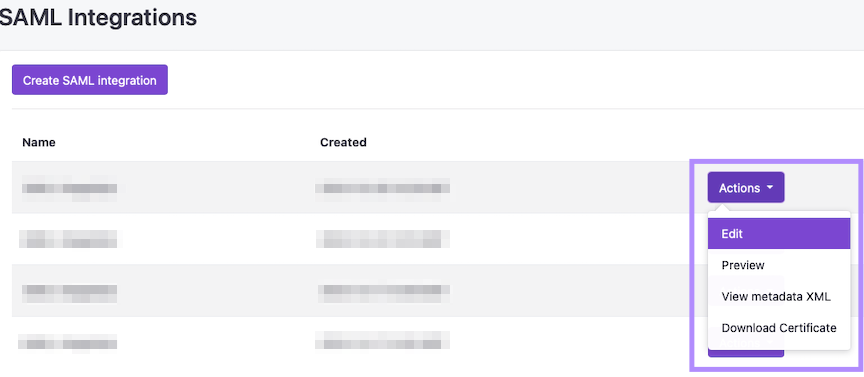
Once you have created your integration, you will be redirected back to the integration dashboard. From there, you should be able to see your new integration listed.
To the right of it, click on the Actions button. You will be presented with a number of different options you can select, depending on your requirements.
2. Custom Domain
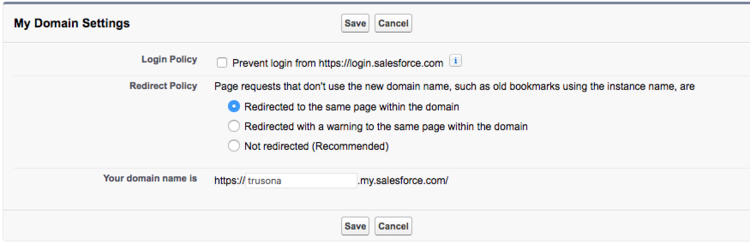
If you haven’t done so already create a custom domain in Salesforce:
Setup > Domain Management > My Domain > “Create your custom domain” > Register Domain
Note: Once your domain is registered it will be up to the organization’s policy whether to still allow logging into salesforce through login.salesforce.com or only allow login through the organization’s new customized domain.
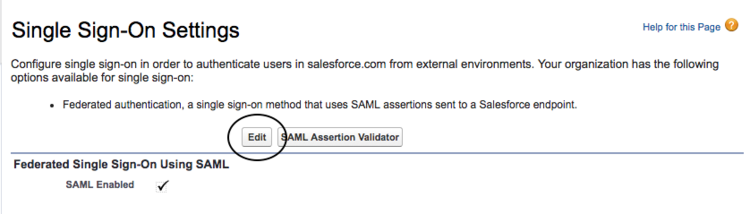
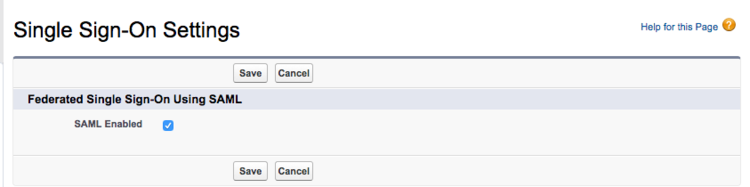
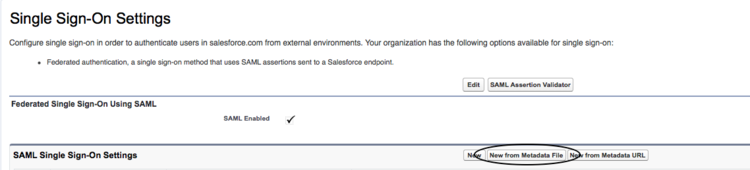
3. Enable SAML
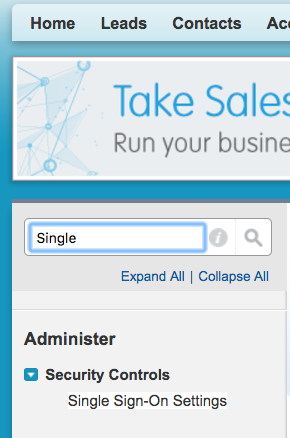
Make sure that “SAML enabled” is checked. Setup > Quick Find search Single Sign-On Settings > Edit > check off SAML Enabled > Save
4. Upload XML
Log into the Trusona Dashboard at https://dashboard.trusona.com
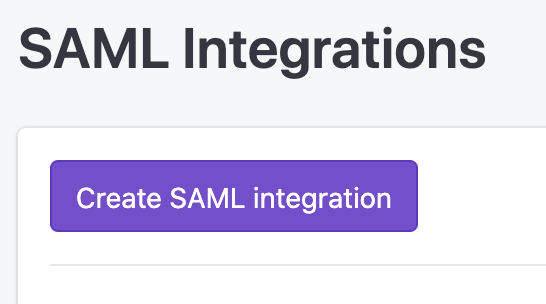
- Navigate to the “Generic SAML” tab in the sidebar
- Select “Create SAML Integration”
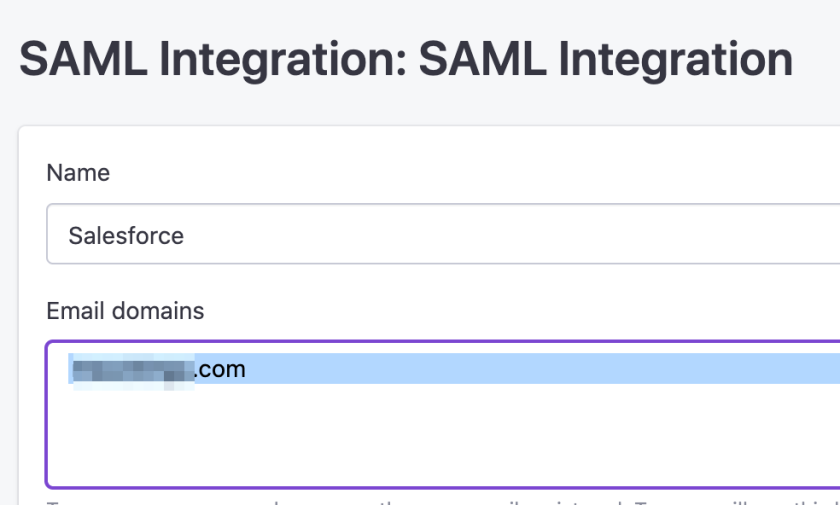
- Name your Salesforce integration
- Under the “Email Domains” section, select your domain even if it is the only verified domain.
- Select “Save”
Once saved, you will be taken back to the list of your current SAML integrations.
- On the list of SAML integrations, select the “Actions”
- Right-click the “View metadata XML” button
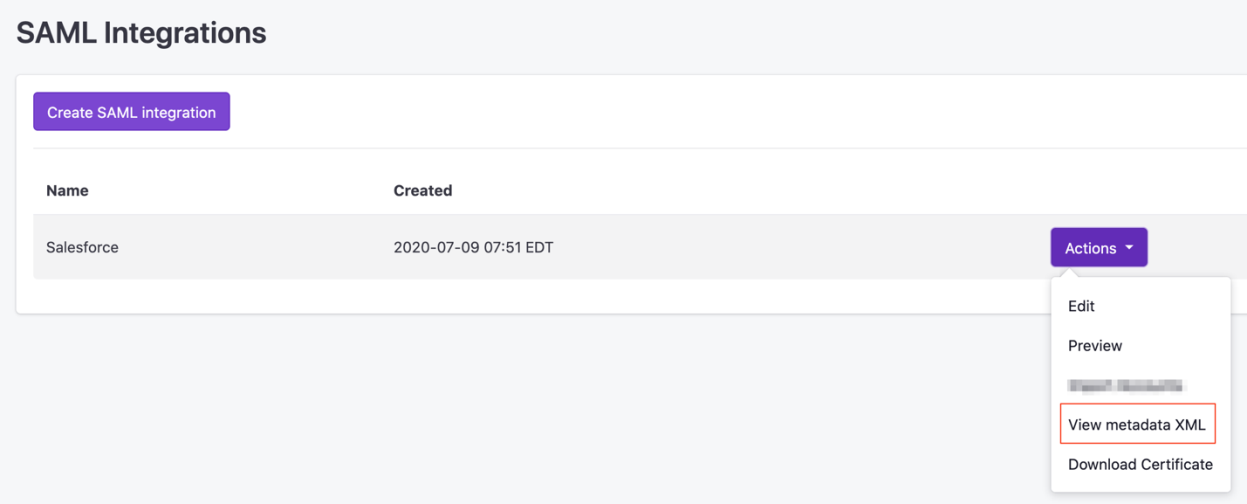
- Select “Save Link As” to download the Metadata XML file
While still in Single Sign-On Settings in Salesforce
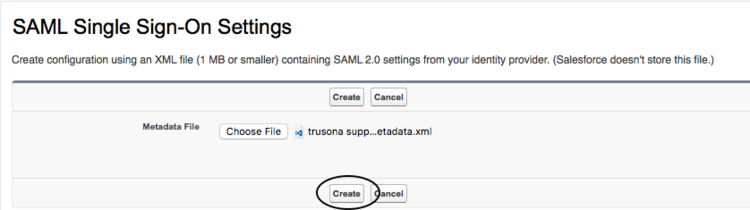
- Select “New from Metadata file” button.
- Choose File
- Upload the XML file you downloaded from the Trusona Dashboard
- Select Create

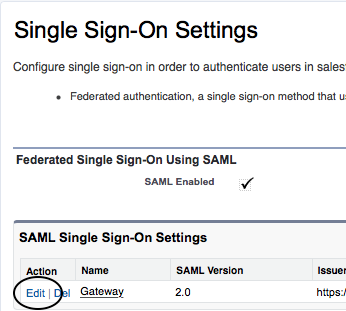
5. Edit SAML Gateway
While still in Single Sign-On Settings
- Select Edit
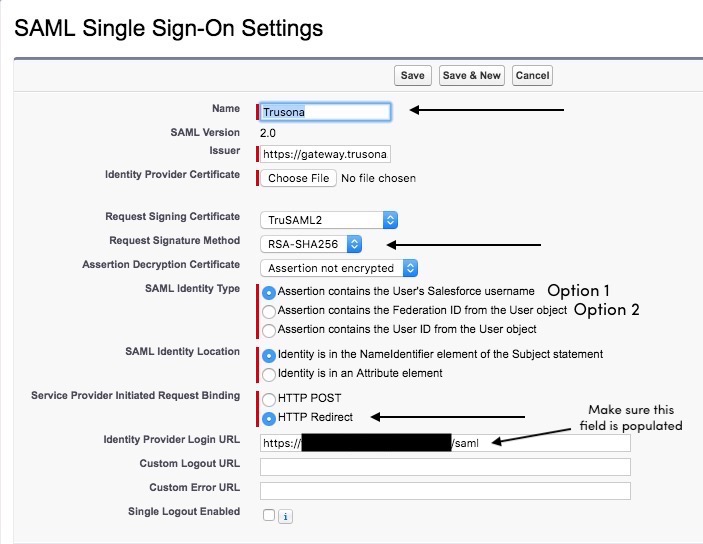
- Change Name to Trusona
- Confirm Request Signature Method is set to “RSA-SHA256”
- Option 1: Select “Assertion Contains the User’s Salesforce username” if the Salesforce username is the same as their organization’s email address used to login to Salesforce. To verify if the Salesforce username is the same as their organization’s email address used to login to Salesforce go to Setup > Users > Users. If yes, the username and their organization’s email address should be the same.
- Option 2: If the Salesforce username is different from their organization’s email than select “Assertion contains the Federation ID from the user object” and a Federation ID will then need to be created for each user (see step 5B).
- Select HTTP Redirect
- Make sure Identity Provider Login URL is populated
- Select Save
5.1. Creating a Federation ID
This step is only needed if you selected Option 2 in the previous step.
Note: The XML file provided by Trusona is customized to your organization’s email domain. If your users have a different email domain as their username than you will need to create link between their email domain and the organizations’ by creating a Federation ID for those users.
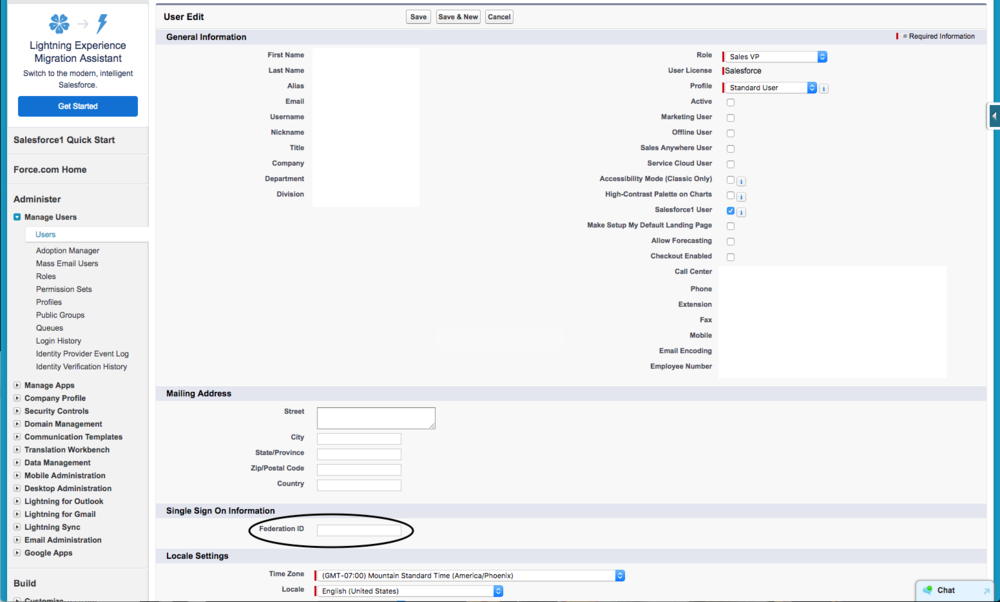
- Setup > Manage Users > Users > edit next to the user’s name.
- Enter the email address the Salesforce user uses to login to Salesforce in the Federation ID field
6. Upload Trusona XML
- In Single Sign-On Settings select “Trusona” under Name.
- Select “Download Metadata”
- Locate and copy the certificate information. It is located after
<ds:X509Certificate>and before</ds:X509:Certificate>

- Open a new blank document in a text editor and copy the information that was just copied.
- Add a new line at the beginning of the doc and add
-----BEGIN CERTIFICATE-----(including the dashes) - Add a new line at the end of the doc and add
-----END CERTIFICATE-----(including the dashes)
- Add a new line at the beginning of the doc and add
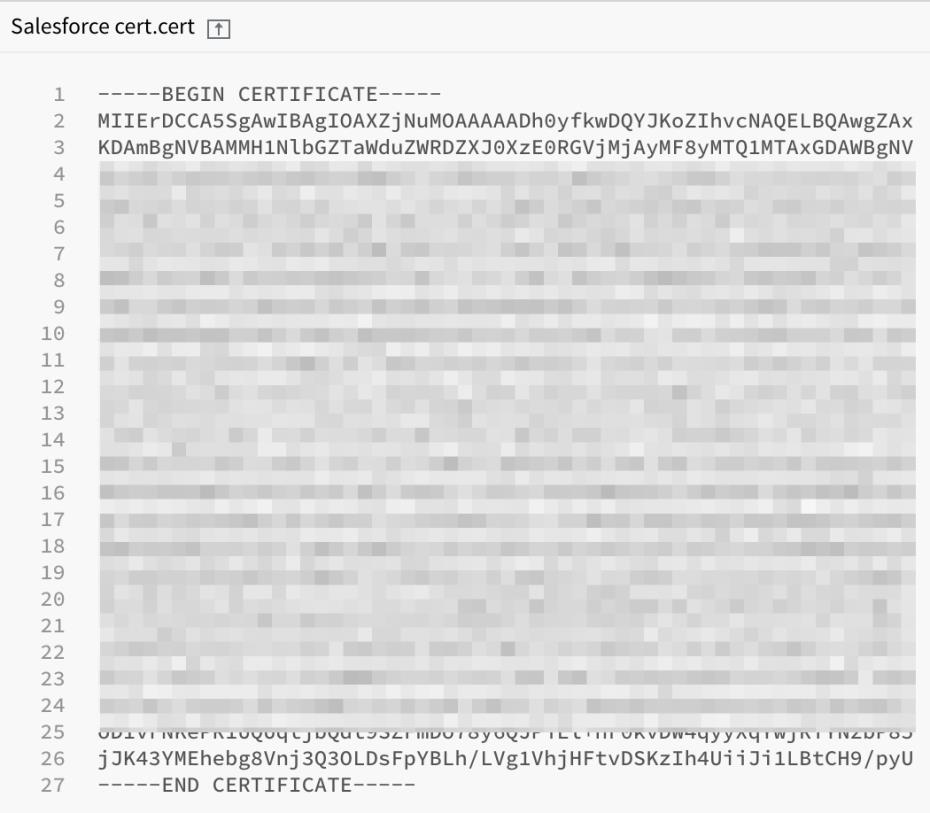
- Save the certificate file as a .cert.
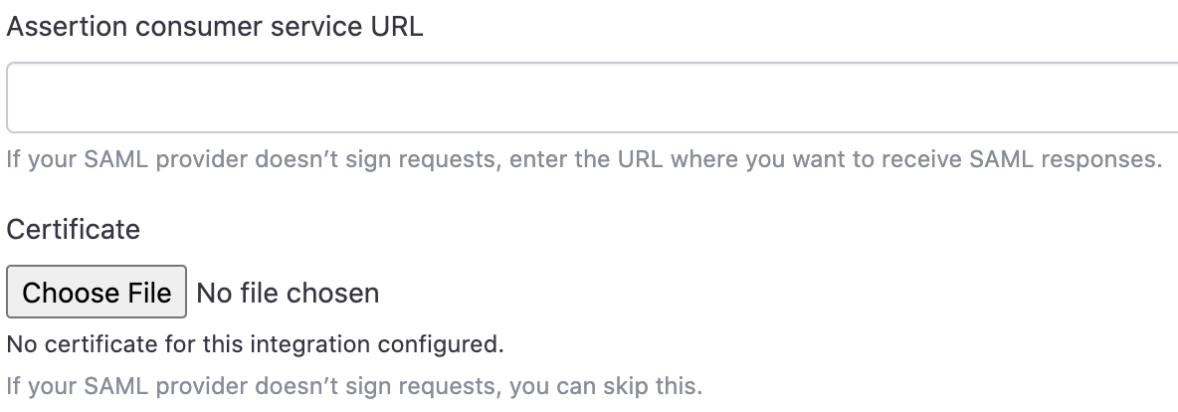
- In the XML file, find the line that starts with “AssertionConsumeService” and copy the listed URL on that line.

- In the Trusona Dashboard, paste the ACS URL in the Assertion consumer service URL and upload the cert file.
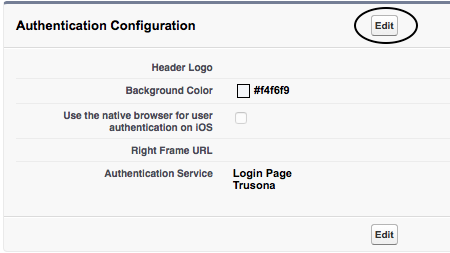
7. Check off Trusona
Setup > Quick Find search My Domain > Edit in Authentication Configuration > check off Trusona > Save

8. Visit your Custom Domain URL in Browser
9. Get Users up to speed
Now that Trusona for Salesforce is ready to be used across your organization share Trusona for Salesforce End-User Video with your Salesforce users.