1. Getting started
1.1. Obtain the Assertion Consumer Service URL
- Log into Freshdesk as an admin user
- Navigate to the Admin section
- Click “Security”
- Click on the arrow icon next to the “Single Sign On (SSO)” option
- Turn on the “Single sign-on” option by clicking the gray toggle. It will turn green.
- Click on the Single sign-on tab
- Copy the Assertion Consumer Service URL from Freshdesk. It will look something like
https://<your domain>.freshworks.com/sp/SAML/1234567890/callback.
2. Set Up Configuration Details
2.1. Log into Trusona
Log into your Trusona account at trusona.dashboard.com
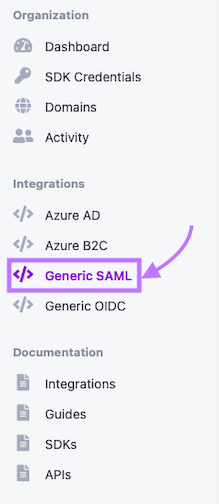
2.2. Navigate to the generic integration option(s)
Locate the navigation bar on the left side of the main page, and click on the Generic SAML tab
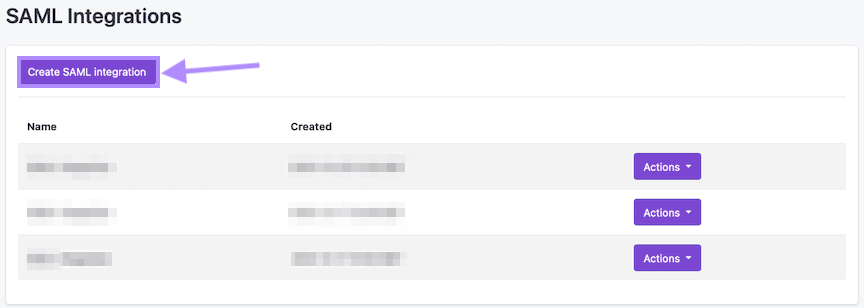
2.3. Creating a new generic integration
Click on the Create button to begin
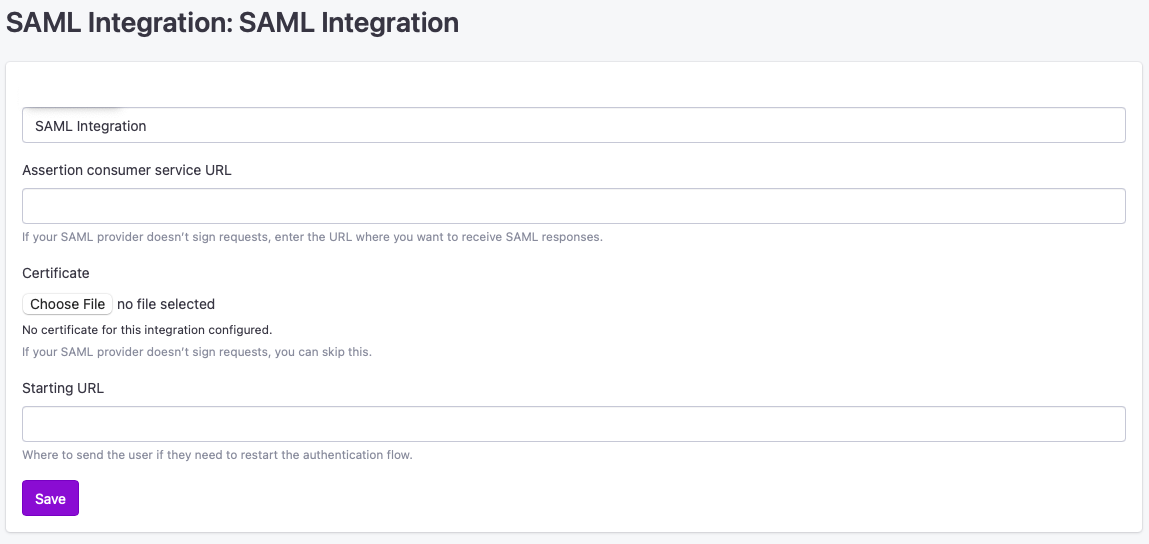
2.4. Customize & Upload Data
Be sure to fill in all the necessary information requested, and upload any files/documents needed. Failure to do so may prevent Trusona from creating the integration successfully
2.5. Additional actions for integrations
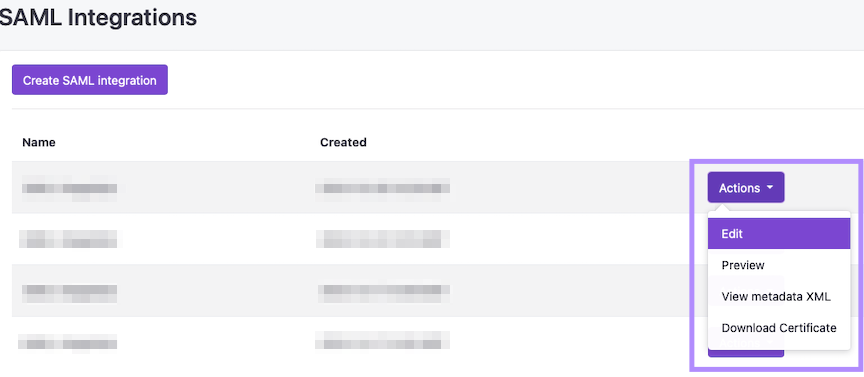
Once you have created your integration, you will be redirected back to the integration dashboard. From there, you should be able to see your new integration listed.
To the right of it, click on the Actions button. You will be presented with a number of different options you can select, depending on your requirements.
3. Configuring SAML SSO
3.1. Identity provider setup
- Log into Freshdesk as an admin user
- Navigate to the Admin section
- Click “Security”
- Click on the arrow icon next to the “Single Sign On (SSO)” option
- Click on the Single sign-on tab
- Enter the Entity ID provided by Trusona in the “Entity ID provided by the IdP” field
- Enter the SAML SSO URL provided by Trusona in the “SAML SSO URL” field
- Enter the security certificate provided by Trusona in the “Security Certificate” field
SAML SSO is only available for Agents or above. Regular users will not see the option for SAML SSO when loggin in.
3.2. Testing the configuration
- Open a private browsing window
- Navigate to your Freshdesk instance
- Click “Login”
- Select “Login Here” for “Are you an Agent?”
- Click “Sign in with SSO”
Complete the authentication in the Trusona App to access your Freshdesk instance.
3.3. Vanity URL setup
Add a new CNAME DNS record for your domain.
- Set the “host” value to the URL you’d like users to see when logging in
- Set the “Answer” value to ssl.trusona.net
- Set the TTL to 300
Here’s an example of a CNAME answer when retrieved by dig tada.trusona.com.
tada.trusona.com. 3600 IN CNAME ssl.trusona.net.