1. Getting started
1.1. Prerequisites
- CyberArk PAS v11.3 and above
2. Log into Trusona
Log into your Trusona account at trusona.dashboard.com
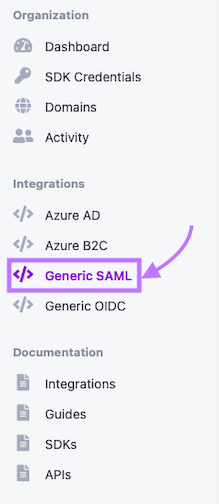
2.1. Navigate to the generic integration option(s)
Locate the navigation bar on the left side of the main page, and click on the Generic SAML tab
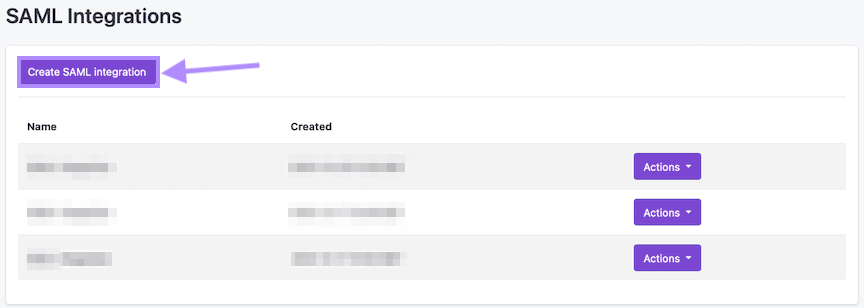
2.2. Creating a new generic integration
Click on the Create button to begin
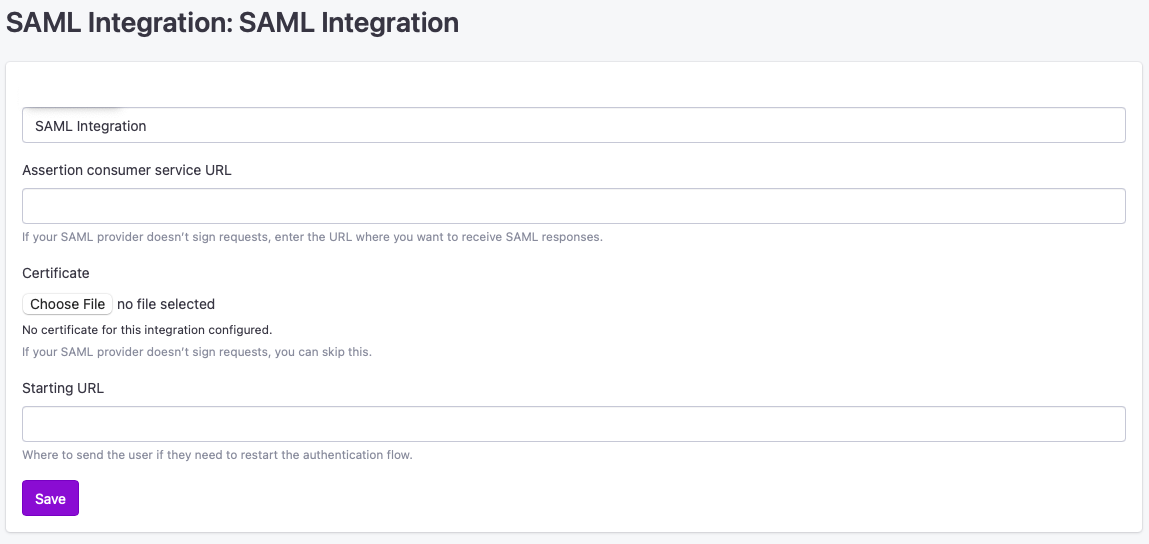
2.3. Customize & Upload Data
Be sure to fill in all the necessary information requested, and upload any files/documents needed. Failure to do so may prevent Trusona from creating the integration successfully
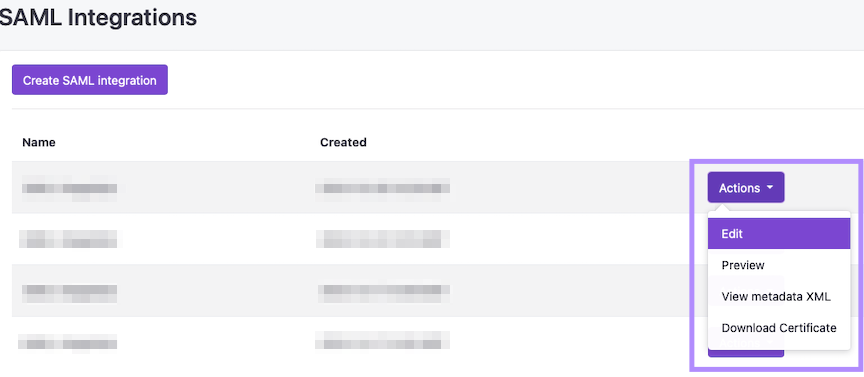
2.4. Additional actions for integrations
Once you have created your integration, you will be redirected back to the integration dashboard. From there, you should be able to see your new integration listed.
To the right of it, click on the Actions button. You will be presented with a number of different options you can select, depending on your requirements.
3. Password Vault (PVWA)
3.1. Configuring PAS
To configure SAML support in PAS, you first need to configure Password Vault Web Access (PVWA) and the Password Vault
- Login to PVWA as an Admin
- Navigate to Administration > Configuration Options > Options
- In the Options pane, expand “Authentication Methods” and choose “SAML”
- In the Properties pane, configure the following:
- Set “Enabled” to “Yes”
- Set “LogoffUrl” to:
- The logoff URL of your IDP, if it has one
- Leave the field blank if your IDP does not have a logoff URL. Users will remain authenticated to the PVWA if they are authenticated to the IDP
- Set “DisplayName” to “Trusona”
- In the Options pane, right-click “Access Restriction” and choose “Add AllowedReferrer”
- In the Properties pane, enter the “BaseURL” value provided by Trusona
- Click “Apply” to save the new configuration
3.2. Configuring SAML in Password Vault
The follow steps are adapted from the official CyberArk SAML Authentication documentation.
- Navigate to the PasswordVault installation folder
- Copy the
saml.config.templatefile and make a new filed namedsaml.config. - Edit the file configuring the following values:
| Parameter | Value | Description |
|---|---|---|
SingleSignOnServiceUrl |
The “SSO URL” provided by Trusona | Login URL of the Trusona IDP. |
Certificate |
The “Certificate” provided by Trusona | Used by PVWA to verify responses from the Trusona IDP. |
PartnerIdentityProvider Name |
The “Entity ID” value provided by Trusona | Identifies the IDP to PVWA. |
ServiceProvider Name |
The “Entity ID” value provided by Trusona | Allows PVWA to identify itself to the Trusona IDP. Must match the Audience defined in the IDP. |
3.3. Testing the integration
- Open a private browsing window
- Navigate to the PVWA login page
- Select “Change authentication method”
- Choose “Trusona”
- Complete the login process with the Trusona App